Contents
In this guide, which we prepared to help you safely move the emails in your webmail account from your old provider to your account in the Business Email environment, you can find all the steps with images and tips. The process takes place through Audriga and uses the IMAP/POP3 protocols.
Before You Start
- Target account: The Business Email account you purchased through METUnic (the username and password should be ready).
- Source account: The username/password of the account with the old email provider you want to move.
- Server details (for the source):
- IMAP: server address, port (usually 993/SSL)
- POP3: server address, port (usually 995/SSL)
- SMTP is not required; IMAP/POP3 is used for reading only.
- Browser: An up-to-date Chrome/Edge/Firefox is recommended.
Step-by-Step Migration
1) After logging in to the webmail account, select the “Import your emails” option from the top right menu.

2) On the Audriga page that opens, accept the terms of service. (Terms of Service, Privacy Statement)
3) The target (the account the data will be transferred to) is automatically selected as OX App Suite Cloud (EU).
4) In the Current provider section, select the source email provider (Add missing provider or server).
Entering the Source Server Details
5) On the screen that opens next, enter the provider's IMAP/POP3 server details.
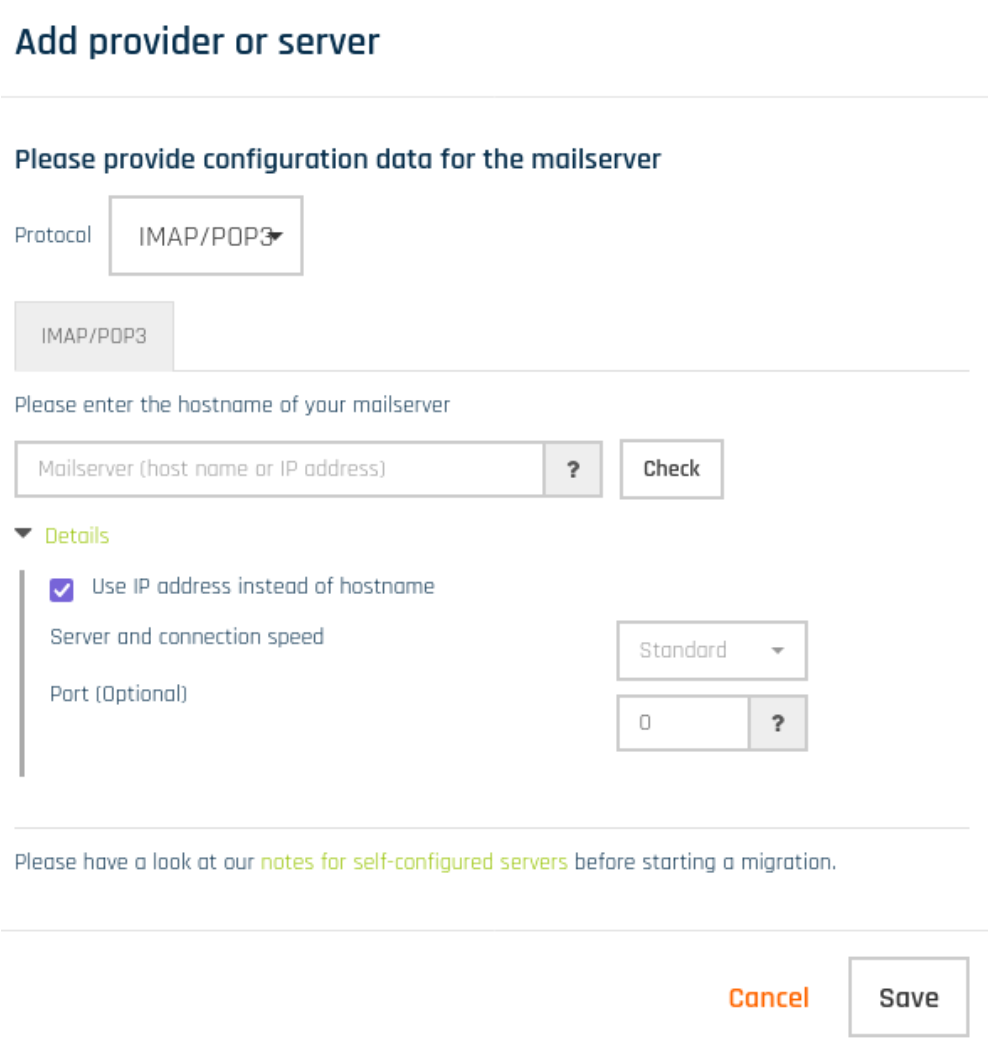
6) After clicking the “Check” option, if no error is returned for the entered details, click the “Save” button and move on to the next stage.
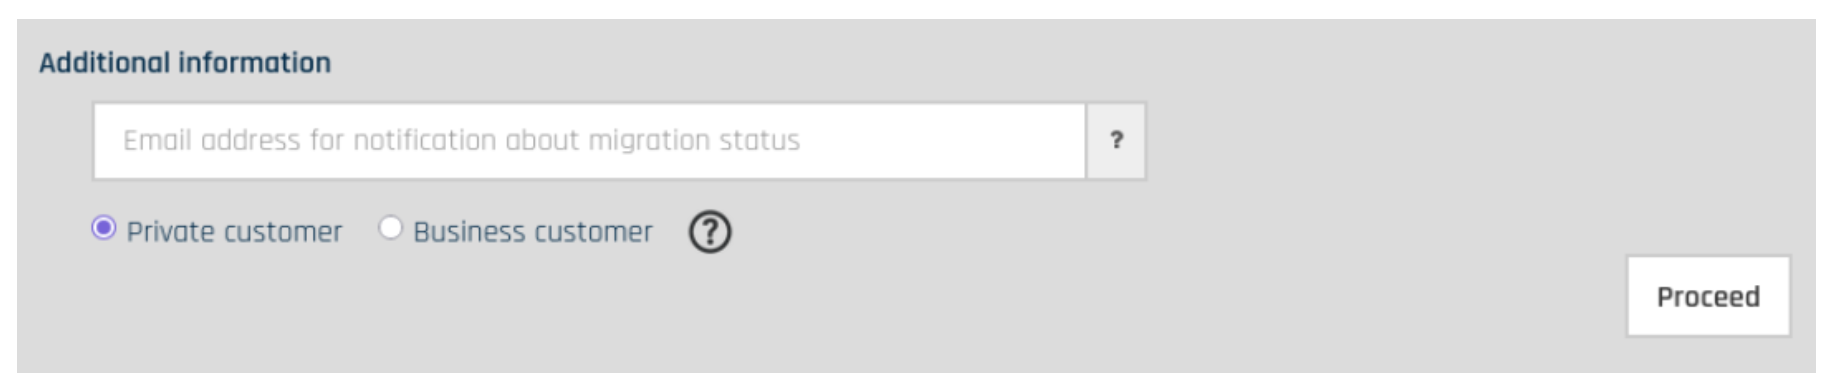
7) In the field at the bottom, add the email address where you want to receive information about the process. (It is recommended that this not be the account being migrated.) After selecting the “Proceed” option, move on to the next stage, where the account details are entered.
Verifying the Target Account
8) Enter the account and password for the account the data will be transferred to. Similarly, for the target email address, enter the email account you purchased through METUnic and its user password, and the details are checked. If the connection is successful, the account is marked with a green ✔.
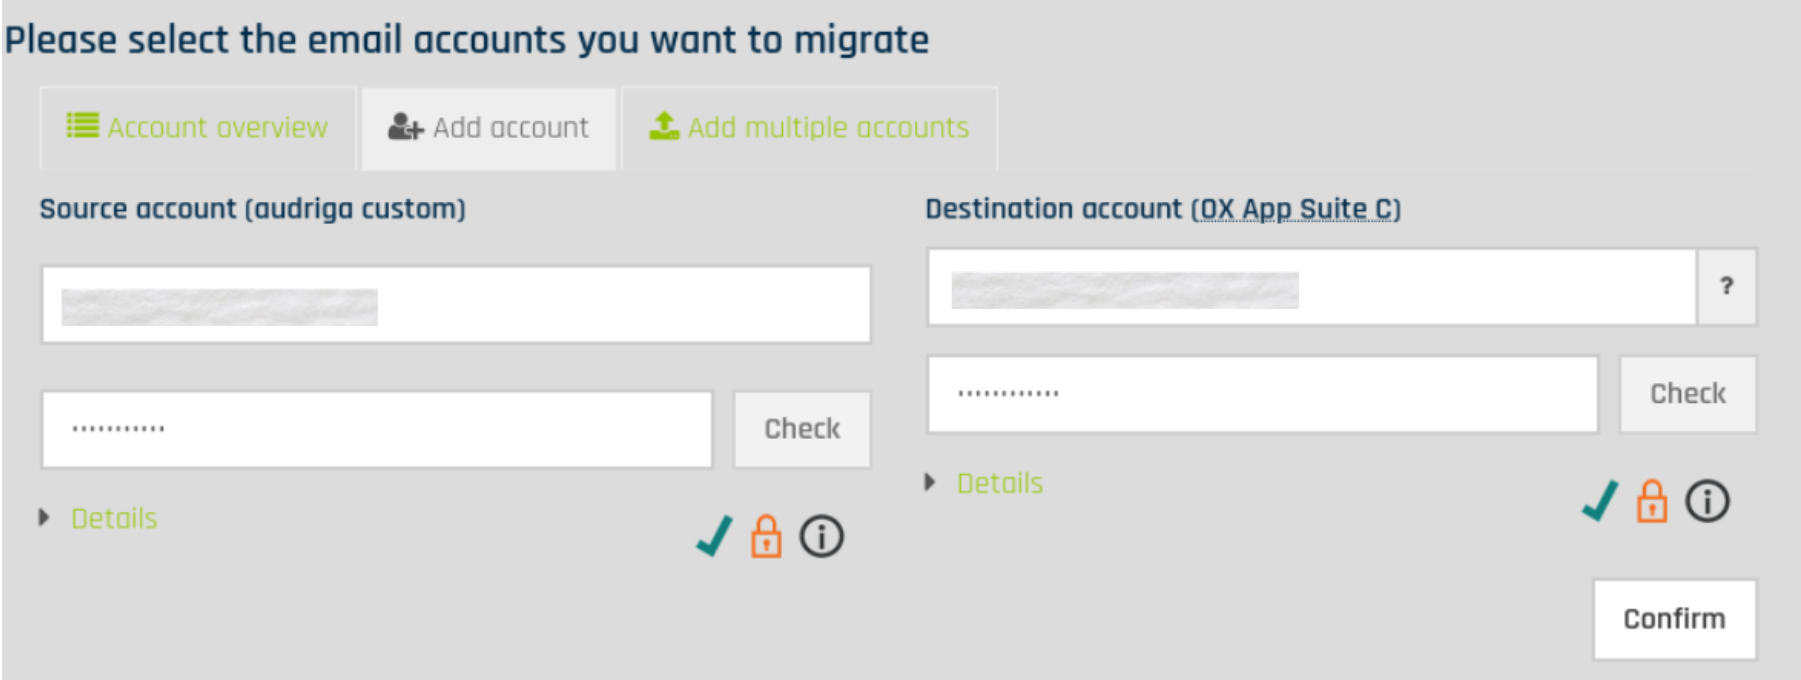
9) If there are no errors in the email account and password you entered, click the “Confirm” option.
10) After selecting the migration period, click the “Proceed” option.

Starting and Tracking the Migration
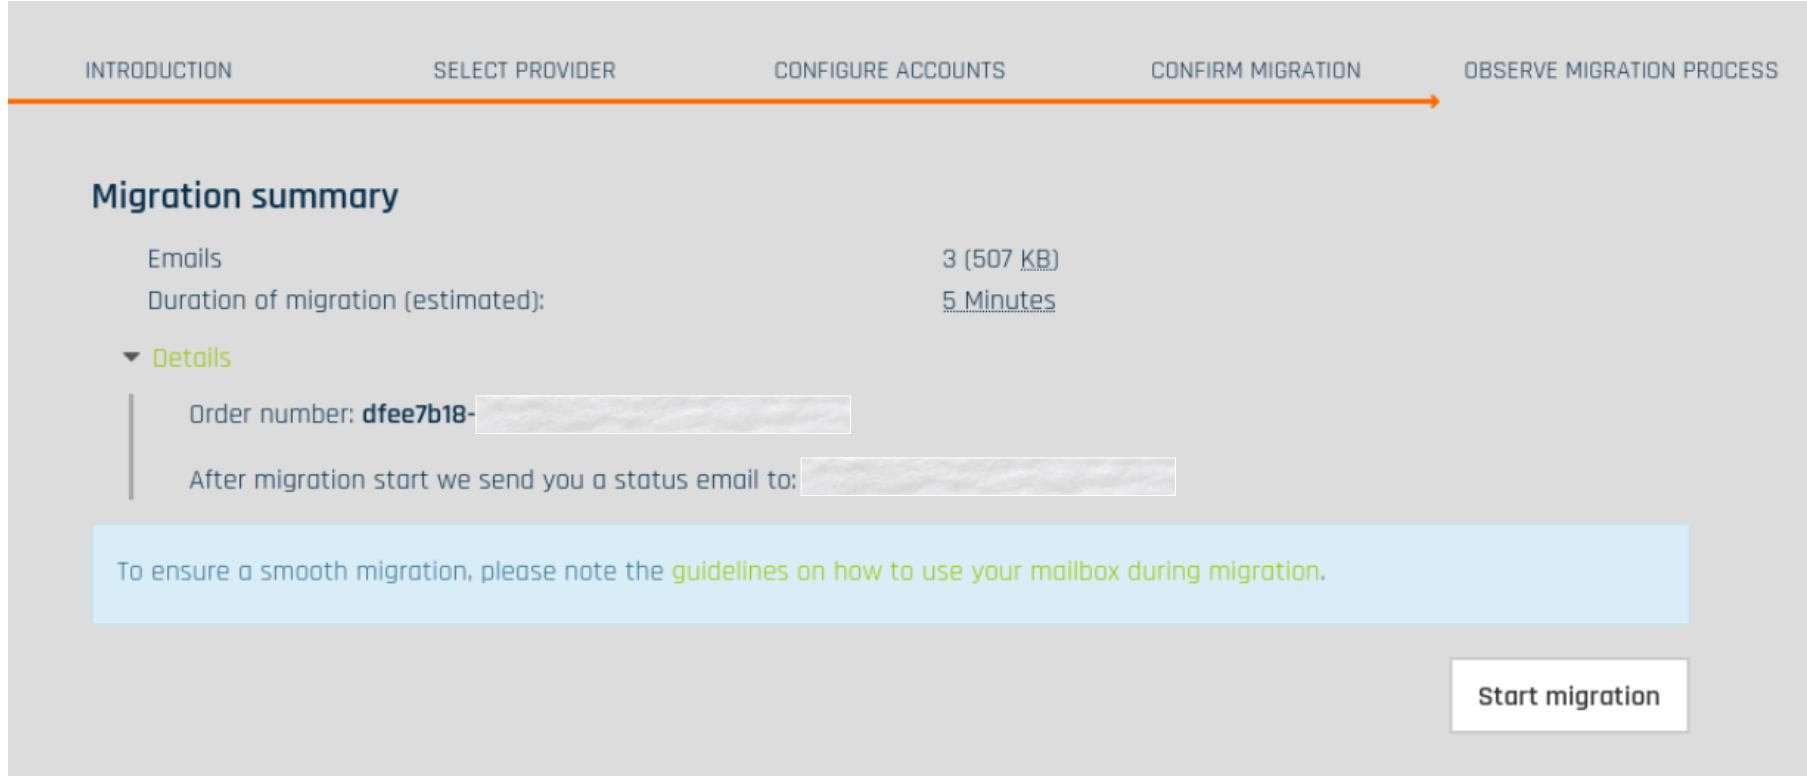
11) Review the summary information on the screen and start the migration process by clicking the “Start migration” button.
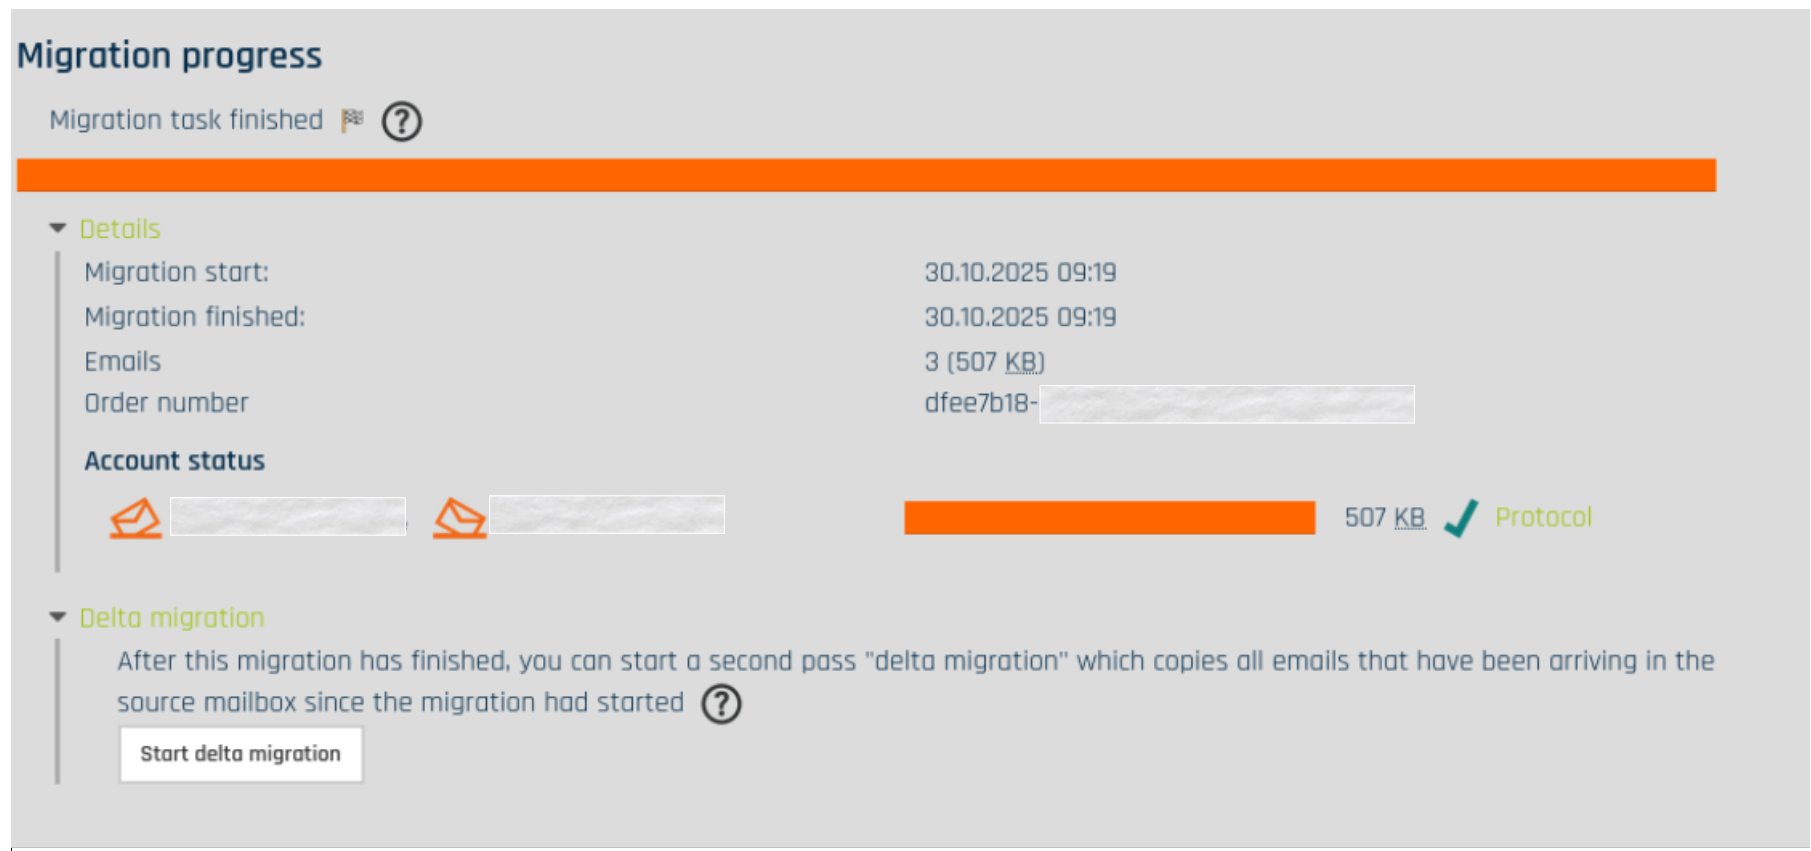
12) Track the migration progress on the Migration progress screen. Detailed logs can be accessed through the Protocol link.
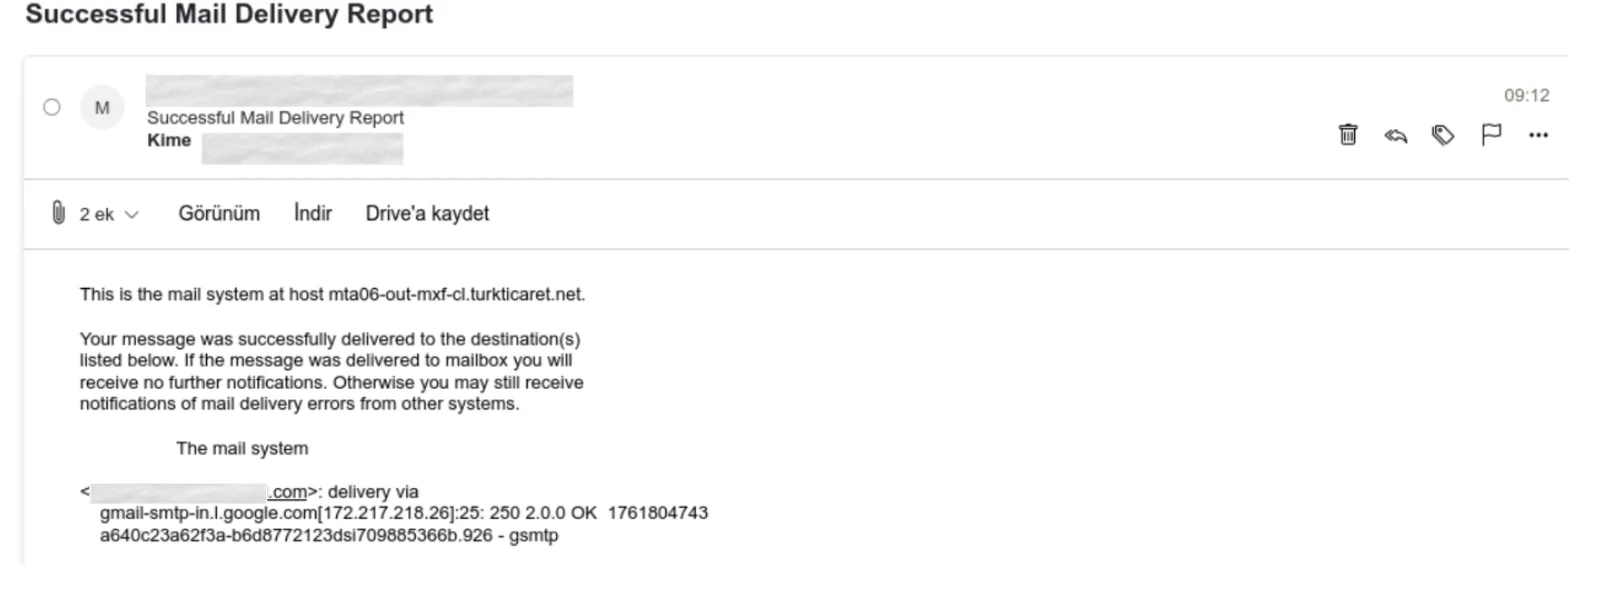
13) When the migration process starts, the following emails are sent to the address specified as the notification email:

14) After the migration is completed, an email confirming that the process was completed successfully is sent to the source and target accounts.
Was this article helpful?
Thank you for your feedback.
Still stuck? Our support team is here to help. Tell us your question and our experts will help you.